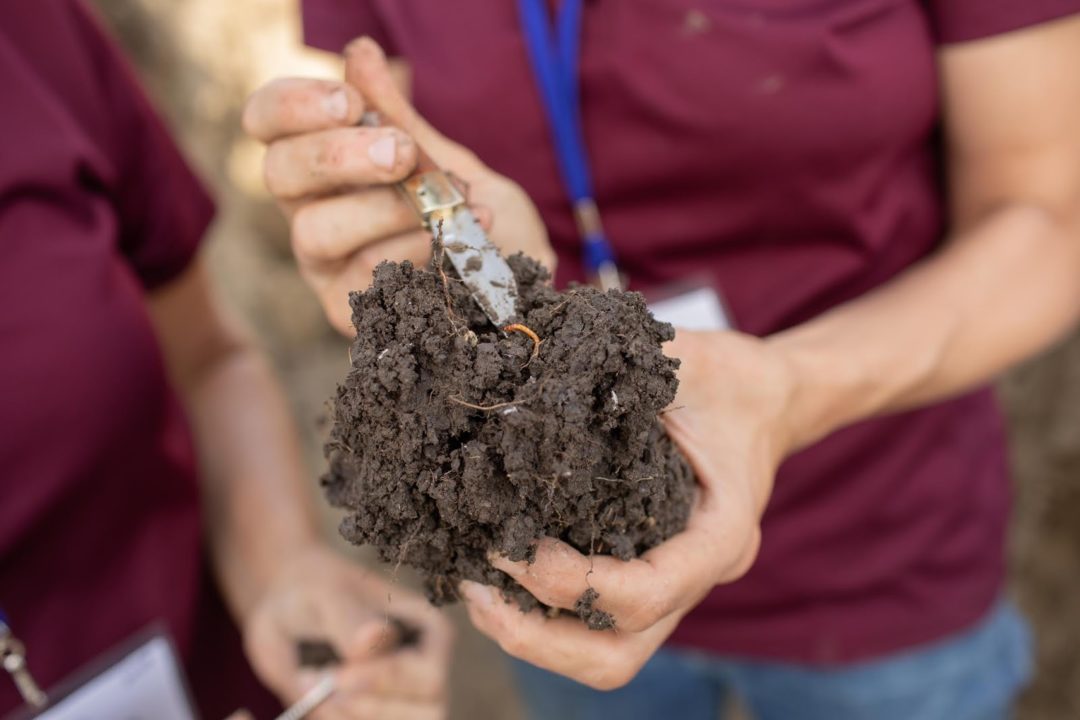
You can always assess soil health visually. For example, look for the white, stringy signs of fungal hyphae on your crop residue to see microbial activity, or
count earthworms. Do a
slump test to evaluate aggregate stability. Estimate your
residue cover, which serves as microbial food and physically protects your soil from wind and water erosion.
1. Be Consistent
Many soil health tests, such as soil respiration, estimate how active soil microbes are. Microbes prefer moisture levels of 60-75%, and temperatures of 85-105° F. Outside of those windows, they work more slowly. It’s not bad to measure microbes outside of their ideal window as long as you’re always measuring in the same window. Try to sample at the same time of year, with similar moisture and temperature levels. This will help ensure that you are sampling microbes with similar resources “at their fingertips,” so their activity should be similar. Generally, fall and spring are good times to take soil samples, either before spring tillage and planting, or after harvest and before fall tillage, when the soil has not been disturbed too recently.
2. Be Patient
Soil has such a complex mixture of solid, liquid, gas, and living organisms that it takes time for features to change. If you only change your N rate by ~5%, you wouldn’t expect big shifts in soil nitrate. Similarly, if you only have one year of cover cropping, or the cover crop wasn’t well-established due to a wet fall, you shouldn’t expect big shifts in microbial activity. Look for changes after 3-5 years of changed management, and even longer if your management change is minimal or your soils have high organic matter to begin with. Also, microbial activity ebbs and flows throughout the growing season, so don’t be surprised if you appear to go backward in some years. It’s probably just a result of variation within the field or year.
3. Set Benchmarks
In order to understand your soil’s potential, it’s ideal to sample a fencerow or natural area where you have undisturbed, perennial cover with living roots year-round. This embodies four of the five principles of soil health (keep it covered, minimize disturbance, diversify aboveground, maximize living roots, integrate livestock). There should be a clear difference between this natural area and any tilled annual cropland. Use
Web Soil Survey or the
SoilWeb app to make sure you’re on a similar soil to your cropland.
4. Know Your Lab
Many labs offer different soil health packages. Compare what tests are involved, and for what price. Call and ask whether they do these tests in-house or if they send them to another lab. (Sending them off isn’t bad, but you should know where the analysis is actually being done.) Ask yourself what tests you’re most interested in so that you can prioritize these pricey samples. Then stick with the same lab to make sure you’re comparing apples to apples in the coming years. Read the sampling instructions carefully before you set out to sample in case there are any special instructions about mixing composite samples or keeping fresh soil on ice.
5. Consider it an Adventure
These tests offer farmers a wonderful opportunity to get to know some of the millions of microbes and invertebrates working under their feet, roots, and tractor tires. However, because these tests are relatively new, it’s best not to expect too much from these metrics. We don’t have enough data yet to use them to make management decisions like when to apply fertilizer or pesticides. Rather, soil health data can be thought of as an attempt to see the world through the soil microbe’s eyes (if they had eyes). How much food is there? How much habitat? Even if we can’t imagine it perfectly, it’s good food for thought.


