Reducing tillage has been one of the most common recommendations made to improve soil health over time and reduce erosion risk. However, this broad-brush suggestion is no easy feat. Tillage is a significant tool to prepare seedbeds, incorporates nutrients, prevents weed competition, and manages crop residue. On the other hand, no-till and reduced tillage provide an opportunity to reduce nutrient loss, erosion and compaction while providing an opportunity to reduce equipment costs, encourage soil organic matter accumulation and promote biological activity. If you are considering a reduced or no-till program, start preparation this fall with the following steps.
1. Manage residue during harvest
Uneven or heavy residue coverage can cause uneven soil temperature and moisture, uneven nutrient or herbicide application, or become a planting issue when transitioning into reduced till. Managing this residue can be done in one of two ways.
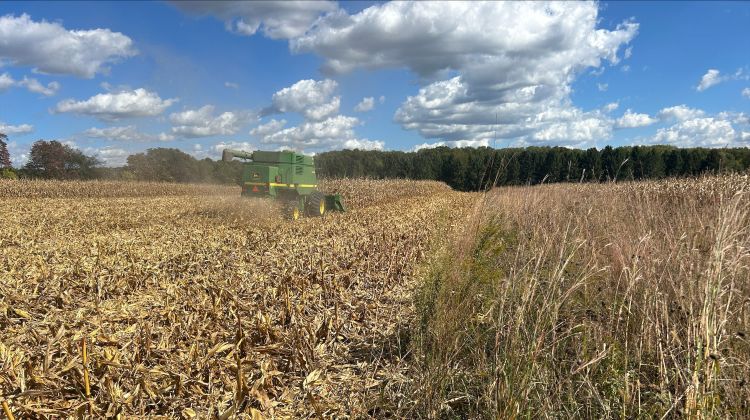
Residue spreading during corn harvest Photo by Brook Wilke, MSU Extension.
- Limit the amount of residue taken into the combine: Raising the combine’s head to a height that will not be an issue for the planter in the spring can be one strategy. If standing stalks are a concern when planting into corn residue, chopping heads or stalk rollers to break up residue may be a good investment. However, some no-till farmers have noted smaller residue from a chopping head can create too thick of a mat over the winter.
- Distribute combine residue evenly: Matching the spread of residue to the width of the combine head is challenging since combine heads are larger than the spreader width. Adjusting the chaff chopper/spreader to its widest setting can help distribute residue as evenly as possible to prevent heavy residue bands.
2. Pick a field wisely
Transitioning all fields to reduced or no-till is an unwise and overwhelming process, so field selection is key. Start with fields with an easier path to success.
- Well-drained fields with adequate soil nutrient levels
- Fields with a history of living roots most of the year (fields with a history of cover crops or winter grains)
- Fields with lower weed pressure, especially lower pressure of perennial weeds. Check out the MSU Weed Control Guide for specific field crop recommendations.
3. Manage soil nutrients and pH
Soil sampling to determine and adjust soil pH and phosphorus needs is especially important before transitioning to no-till. Lime and phosphorus can be fairly immobile in soils, so application of these products during a final tillage pass if needed is recommended.
4. Break up deep compaction and level fields if needed
Fields with plow pans or deep restrictive layers should consider deep tillage or subsoiling before no-till or reduced till management in the coming season. Avoid driving on the field after deep ripping for at least two weeks since loosened soils are more at risk for compaction.
Leveling fields with a field cultivator or a disc before starting no-till can also set a field up for success and address issues down the line. Seeding cover crops ahead of or during final tillage activities will help with rebuilding soil stability.
5. Plant a cover crop
The living roots in cover crops can provide “biological tillage” to fields with reduced to no-till. Use the Midwest Cover Crop Council selector tool to determine which cover crops fits your goals and region.
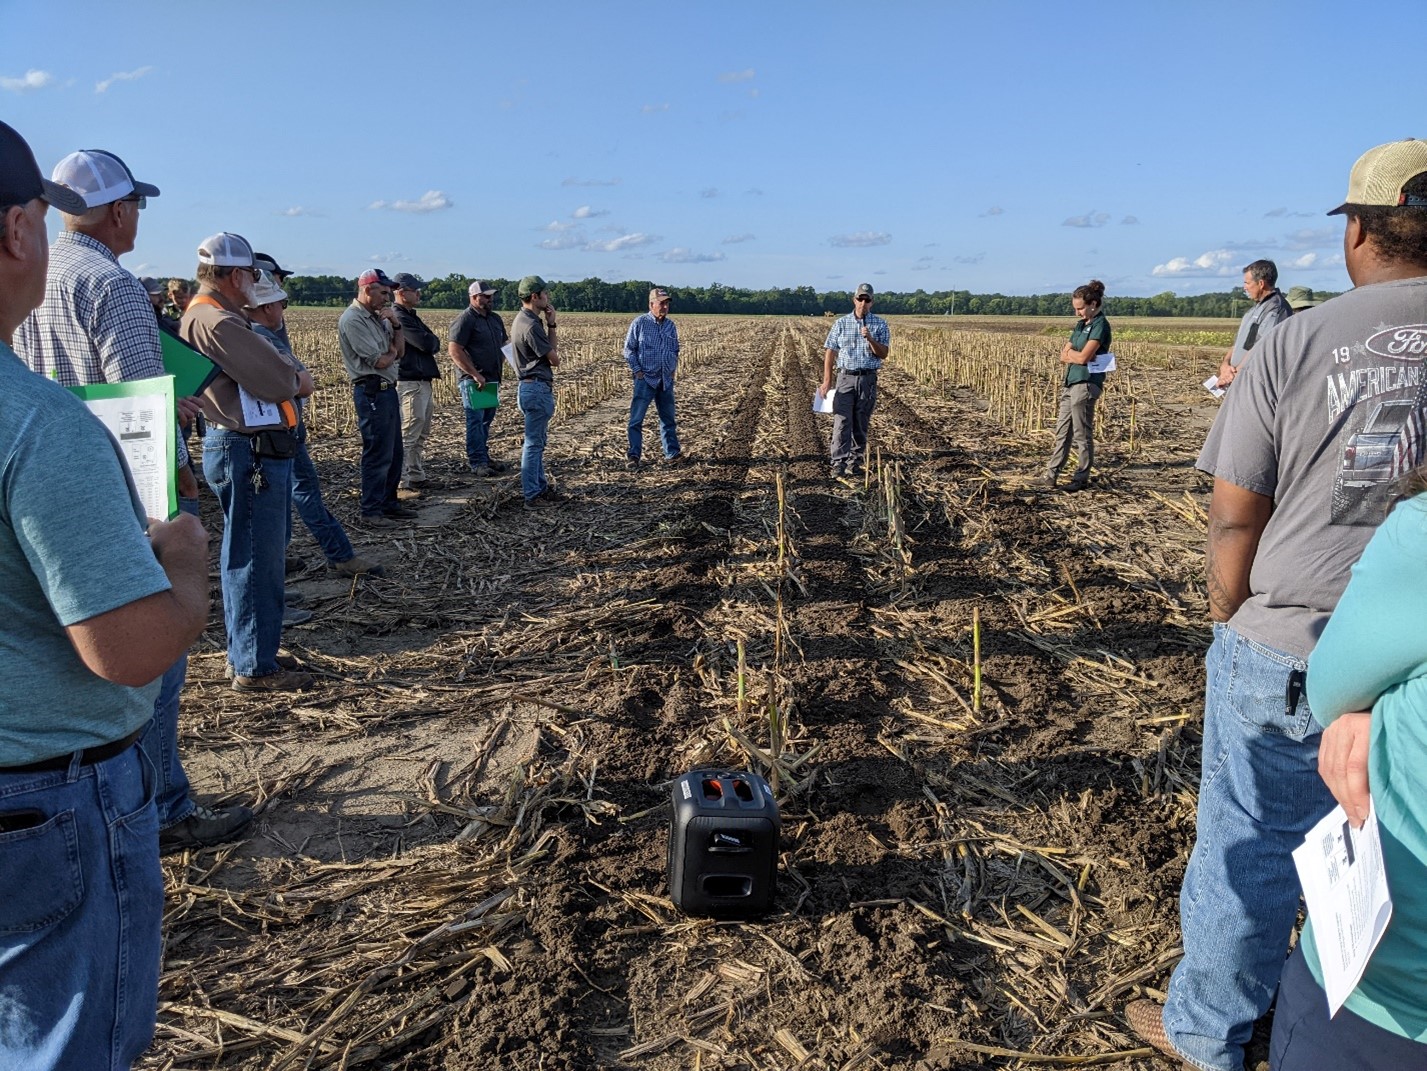
Discussing strip-till management and equipment during a Monroe County field day. Photo by Christine Charles, MSU Extension.
6. Decide what reduced tillage looks like for you
In many regions of Michigan, talking about reducing tillage can immediately shut down a conservation because it is seen as a black or white management choice. With all the equipment modifications and possibilities today, it is very clear that tillage lives on a gradient. There are three main areas to adjust when it comes to reducing tillage in a management program:

USDA NRCS STIR values for common tillage operations. STIR values range from 0 to 200, with lower scores indicating less soil disturbance. Values are determined based on the recommended operating speed, the tillage type (inversion, mixing, etc.), tillage depth, and the surface area disturbed. (Upper Midwest Tillage Guide DeJong-Hughes, Jodi Daigh, Aaron 2021)
The Timing of Tillage: Fall and/or Spring
Without planting anything in the fall, fall tillage can increase the risk of soil and nutrient loss with winter precipitation. When possible, waiting until the spring can significantly decrease this risk.
- The intensity of tillage: This is determined by the depth of tillage, how much residue is left after a pass, and the level of inversion or mixing.
- The USDA uses a Soil Tillage Intensity Rating (STIR) to determine the intensity of a tillage implement if you are interested in comparing tillage options.
- The number of passes: Reducing the number of tillage passes in a given season can be a great way to start reducing tillage.
A “zero-tillage” program would be on the far end of the gradient in all these areas. If that is not feasible for you, consider adjusting one of these areas or making a stepwise plan over time.