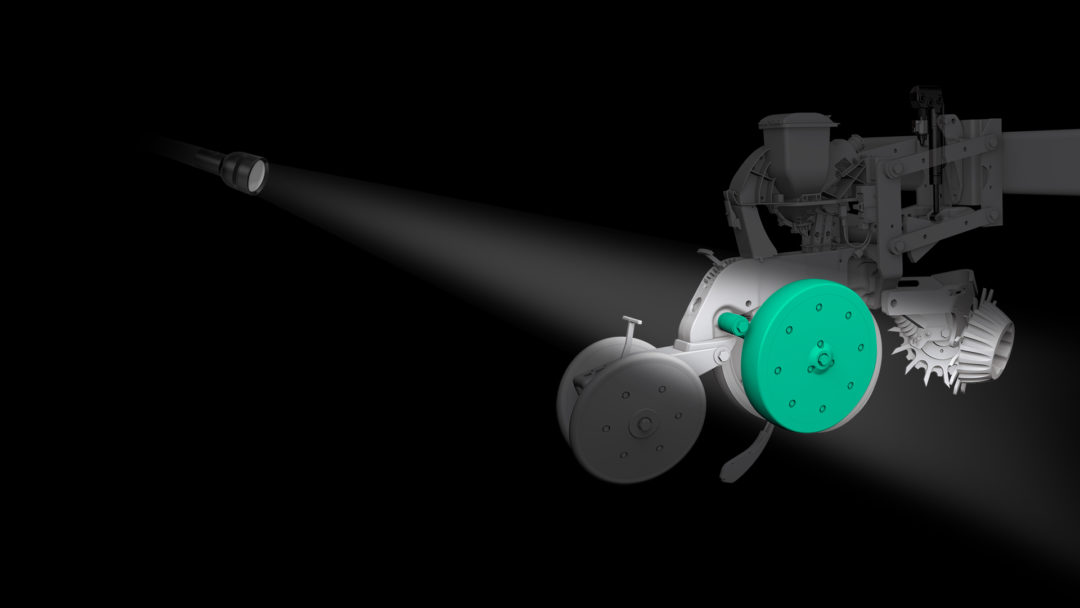
Did you know that your row units are potentially lying to you? They can't tell you exactly where they're placing that seed. You may set your T-handles according to the operator's manual and say, “I know that this T-handle needs to be set at 2 inches.” You know this is where you need to set your T-handle to achieve the depth that you want. And your row-unit may say, “Hey, I'm at 2 inches.” But in reality, that row-unit is somewhere else. The reason they lie to you is because of the wear on the gauge wheel arm seen on the left photo of the two photos in figure 1. This causes variation row to row on the depth you’re actually placing our seed at. The wear on the gauge wheel arm on the very next row may be totally different. Now each row unit may be telling us a very different story.

FIGURE 1. Compare the images on the left and right. Wear on the gauge wheel arm (left) can lead to uneven planting depth because the amount of wear between row units is likely to vary.
You also want to make sure you’re looking at the depth rocker and the pivot bolt. On the left photo of the two photos in figure 2, you can see there’s some wear on that pivot bolt. If you add the wear on your gauge wheel arm to the wear on your pivot bolt, now you’re bringing in these small tolerances. These are small amounts of wear that turn into that big lie.

FIGURE 2. Wear on the pivot bolt, paired with wear on the gauge wheel arm add up to variance in planting depth.
How do you get the row units to tell you the truth? You’re going to need to do what we call a block check. Start by having your planter on a hard surface and you’ll want to use 4X4 blocks. Put a 2-inch line on your 4X4 and you’ll have an inch and a half below that line (figure 3).
This is going to be the reveal on the underside of your disk opener from your gauge wheel to the ground. In this example on row 1, we lowered the planter down onto the blocks and you can see the disk openers hang or fall way below the 2-inch line (figure 4).


Your row-unit is lying to you. So we need to lift the planter and adjust it up. We adjust it up about ½ inch and lower the planter back down onto the blocks and see how close we are. Now the disk opener is right at the 2-inch line (figure 5).
Next, take a marker and mark where that T-handle is now that we've made that row-unit tell us the truth and we know exactly where we're placing that seed (figure 6).


If you need to make an adjustment on a Deere row-unit like this or a Kinze row-unit, you need to physically move the T-handle and change your depth. If you have a White row unit or a Precision Planting Ready row-unit, you can adjust the nut on the back to dial that into the correct depth. And if you have a Case IH row-unit, you can move your slide to set your depth where you want it. It doesn't matter what planter make you have, it's important to do this depth check to make sure that each row on the planter is planting at a consistent depth.
A Premier Precision Planting Dealer is your partner to help you achieve a picket fence stand this spring and steer clear of the regret that comes from avoidable yield loss caused by lack of maintenance. Find your local Precision Planting Premier Dealer at planterexpert.com.
Watch a video about performing a depth adjustment check on your planter. To see videos of all recommended annual maintenance checks, visit PrecisionPlanting.com/Maintenance.
Download the free Planter Maintenance Guide. This guide includes a 1-sheet checklist, links directing you to the corresponding videos, and an overview of 15 key maintenance areas on your planter.
The Planter Maintenance series is brought to you by Precision Planting.
For farmers who believe in better. Believing in better is a mindset to pursue excellence in everything you do. It’s welcoming opportunities to improve your farm and knowing that your best season is simply a starting point for this season. Precision Planting is for farmers like you who Believe in Better.


